I’ve been doing a lot of cross stitch this week. I finished the first color I was working on and added a couple of shades of yellow for the sun:
 One thing that fascinates me about this design is how it uses different numbers of strands of floss and half stitches vs. full crosses to create different effects:
 That’s the same color of yellow, but some half crosses are with a single strand and some are with three strands of floss. Most of my past cross stitching projects have been small images on unstitched fabric and this is my first one with significant background shading, so I’m not sure if this is typical or not. Those of you who’ve done more projects like this, is it a common feature?
My other minor project was a simple needle minder — you can see it in the first picture. I’d seen a couple of needle minders on other cross stitcher’s pictures and videos, and I happened to have a couple of broken refrigerator magnets, a random button, and hot glue…

 I hot glued the button on top of one round magnet, and put the other round magnet on the underside of the fabric. Eventually I hope to find something prettier than the button to glue to the second magnet, so that I can have the pretty side up and the button on the underside of the fabric.
 Then I cut triangular notches in the ends of the central column (note that these notches should be at 90 degree angles to each other and should fit the triangular cross pieces).
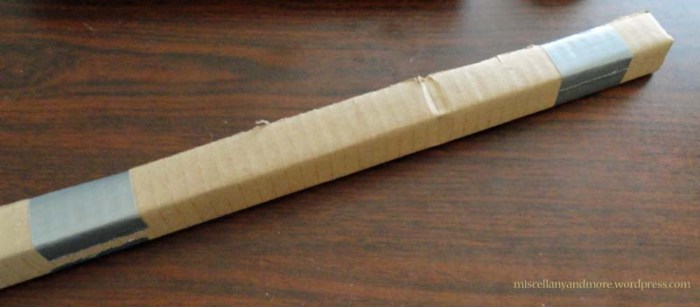
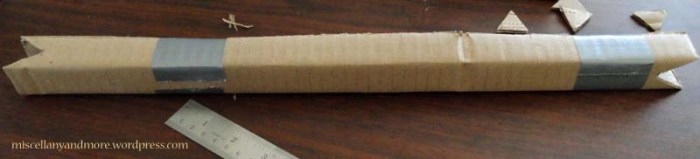 Finally, I wrapped all the pieces with duct tape to ensure that my yarn wouldn’t snag on any rough cut edges of the cardboard and taped the cross pieces into the notches of the central bar.
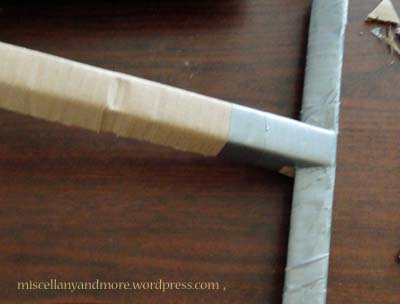 The finished product:
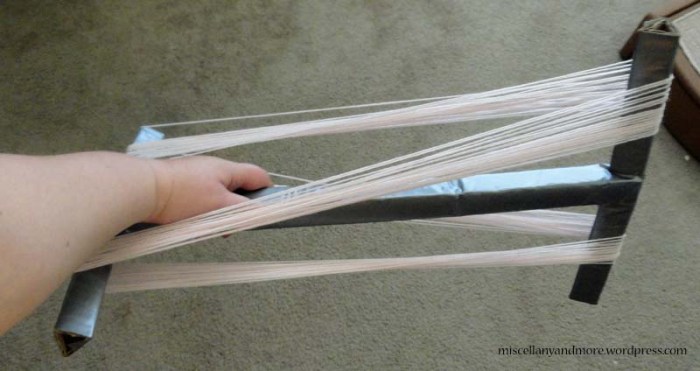 The only downside to this niddy noddy (well, aside from looking really blah) is that the cross pieces will bend if you aren’t careful to wrap your yarn loosely. If I were going to be using this regularly, I’d probably go ahead and make a PVC niddy noddy, but since I don’t expect to be winding often, this works just fine for me.